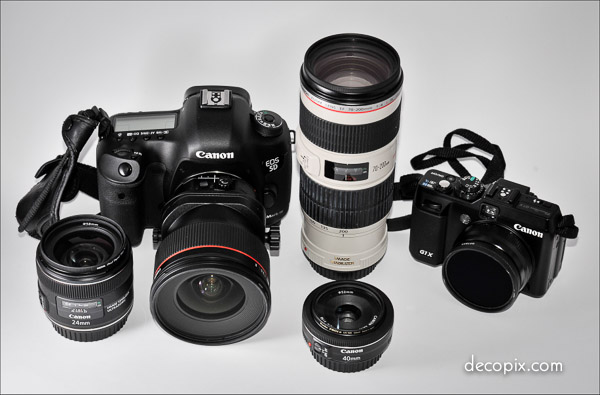
What I took to Mexico City in 2013…
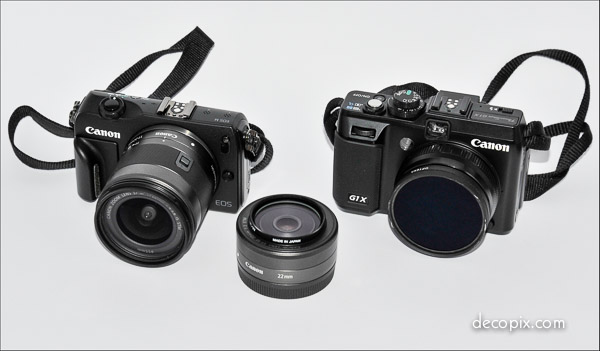
…and what I took in 2014. Read on to find out why. (Lest it appear this site is devoted to endorsing Canon cameras, I’ll point out that this photo and the one above were taken with my Nikon.)
I’ve just returned from a second trip to Mexico City. Last year’s visit was just 4-1/2 days but I learned a lot about where to go and what to carry.
In 2013, I went to Mexico City on the way back from the World Congress on Art Deco, in Havana. I’d been in Havana a number of times and knew it was safe. But Mexico City?
Cautious by nature, on my first day I took only my G1X point and shoot camera. Six hours of walking later, I knew the big 5D mkIII would spend most of its time relaxing at the hotel. Why the big difference? Mexico City seemed quite safe but part of the answer was the extensive amount of walking I was doing.
Reason #2 for traveling light in Mexico City was my desire not to advertise. I had no problems, but as usual I saw tourists with large and expensive Nikon, Canon and Olympus cameras, using the straps that spell out the name in large letters. Honestly, I can’t fathom why somebody would want to put themselves at potential risk while giving these companies free advertising, but if you want to be a billboard, that’s your call. At least send Nikon, Canon or Fuji a bill for your services.
Reason #3 for traveling light was that the big advantage (for me) of the 5D mkIII was the 24mm TS-E shift lens. But most Mexico City neighborhoods have huge old trees just a few feet in front of the buildings so even with a PC lens, I’d still have to point the camera up, because I couldn’t back up enough. (Even Canon’s 17mm TS-E wouldn’t work at these short distances.)
So last year, for Mexico City it was the G1X all the way. But there was one thing the G1X couldn’t provide; a really wide lens. Although almost everything I do requires wide angles, I’m really not that fond of extreme wide lenses. Sure, they allow you to get more stuff in the photo, but when you’re right on top of something, the perspective can appear very unnatural. I’ll do a post on this some time, but after decades of doing this I can say that unless you are intentionally looking for a lens-produced “effect” the best lens for any architectural scene is as close to your camera’s “normal” lens as possible. For example, if the normal lens on your camera is 50mm, the most natural looking result (except for portraits; that’s another subject) will be as close to 50mm as possible. A 28mm lens will render things a lot more realistically than a 20mm lens. It’s true with telephoto lenses as well, although for small details, telephoto lenses are essential and the flattened perspective of a 300mm lens can be a cool effect, if not entirely realistic.
But…sigh…sometimes it’s not possible to capture what you need without a very wide lens. Until recently, my choice in these situations was a Nikon D700 with Nikon’s underrated 16-35mm VR lens. Ironically, the 16-35VR is usually not recommended for architecture because it has high barrel distortion at the 16mm end. But this is easily corrected on computer. What the 16-35VR has going for it, besides great quality, is the “VR”. This “vibration reduction”, or image stabilization as Canon calls theirs, is usually not available in wide angle lenses. The reasoning is that it’s easier to hold a wide angle steady enough to get a sharp photo versus a telephoto lens, so a stabilized wide angle isn’t needed.
Wrong.
This thinking is a hold over from ribald tales of famous photographers of yore, holding their Leicas rock steady for 8-second exposures. I’m not saying it’s impossible; it’s just not likely, and slightly unsharp photos are usually worse than totally unsharp photos. (I had a teacher who said “there are two types of sharpness: yes and no.”)
Now, if you use a tripod at all times or take all your photos outdoors in full sun you won’t benefit from a stabilized wide angle lens. But if somebody invites you into their home or you go into a museum, a hotel lobby, a theater or even deep shade, that’s a different story. Besides, there doesn’t seem to be any downside to stabilized lenses or cameras with internal stabilization. In other words, there’s no downside so why not?
This long digression brings me to Canon’s 11-22mm zoom for the EOS-M cameras. I’ve done a post on it here but the point is, at last I have a small, lightweight substitute for my Nikon 16-35mm VR. The Canon 11-22mm + EOS-M combination is no match for the Nikon D700 + 16-35VR but close enough. Now I can go much wider than what the G1X gives me; I can also use slower shutter speeds which means using lower ISO settings which means less noise. And since noise (that “grainy” appearance in photos taken at high ISOs) is a Canon weakness, the lower the ISO, the better.
And since I walked 4-6 hours each day, traveling light made a big difference. Despite carrying less, in some situations I was able to do more:
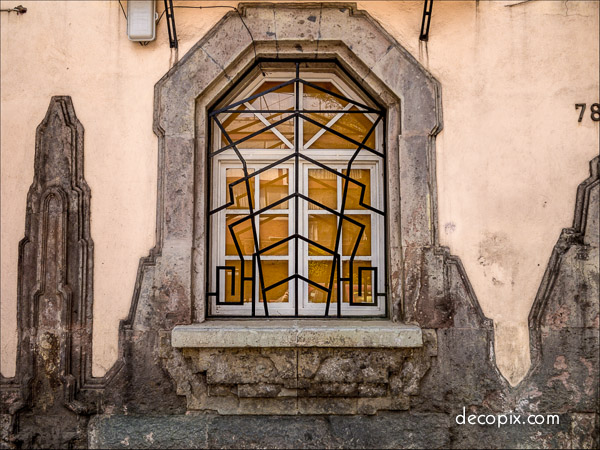
2013. Using the G1X camera at it’s widest setting (equivalent to a 28mm lens on a full frame or a traditional 35mm camera) I had to squeeze the top and bottom and clip the right side.
2014. Using the EOS-M camera with Canon’s 11-22mm lens (roughly 18mm-35mm in full frame or 35mm camera terms) there was more than enough to work with. None of these is going to win any awards but you see my point. Also note the perspective distortion–the wall appears to be curving away at the edges but what’s happening is, I’m much closer to the center of the subject than I am to the edges.

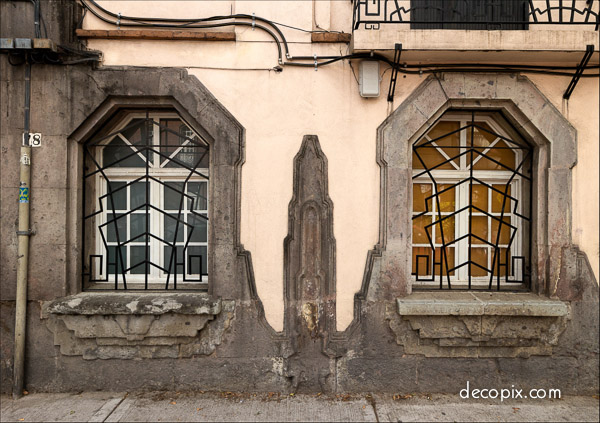
2013. Here I was just out of luck. This was as wide/far away as I could get with the G1X. I loved the windows and doorway but it just wasn’t doable.
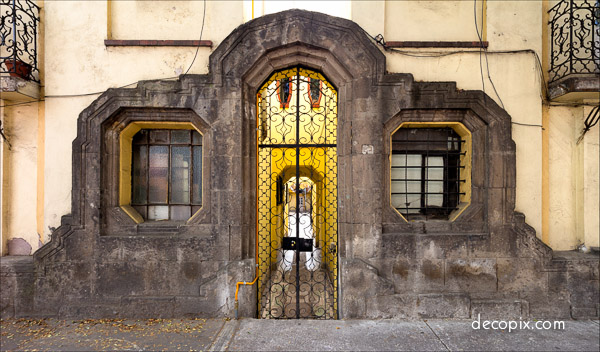
2014. No problem at all with the EOS-M camera and 11-22mm lens. I would prefer not to use a lens this wide but short of taking multiple pictures and stitching them together, sometimes there’s just no other way.